
SQL Server allows for the creation of users and logins. Each individual who needs access to SQL Server databases can be given their own user account and permissions.
The administrator can assign roles and schemas while creating login account. This will depend on the kind of purposes and functionality access to be granted or deny for a new account.
Here, we will create a new login account for a new user to login. Firstly, make sure that the administrator has selected server Properties with Securities authentication, before creating New Login Account.
Example


Now in SQL Server Management Studio (SSMS),
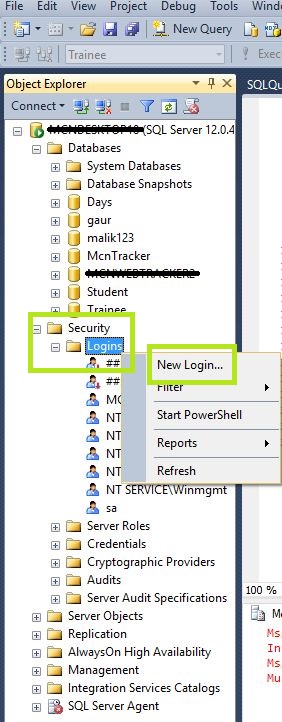
- Right click on Security in Object Explorer and choose New Login:
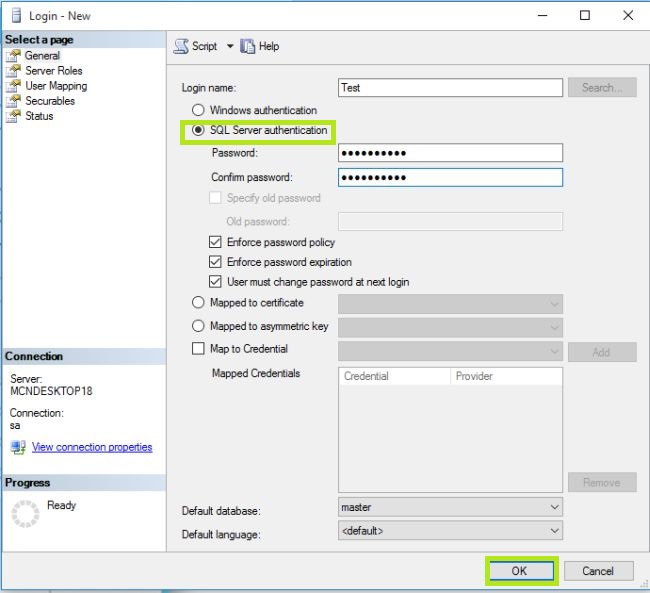
- In General option of Login-New window: Provide the New User Login account Name and login authentication. Click OK (If window is closed, just select your new account name in Security option of your Object explorer and double click on it).
- In Server Roles Option: Server-wide security privileges. select the lists of all possible schemas that can be owned by the new database user.
By default, the login will be assigned to the public role. It means the object to be available to all users.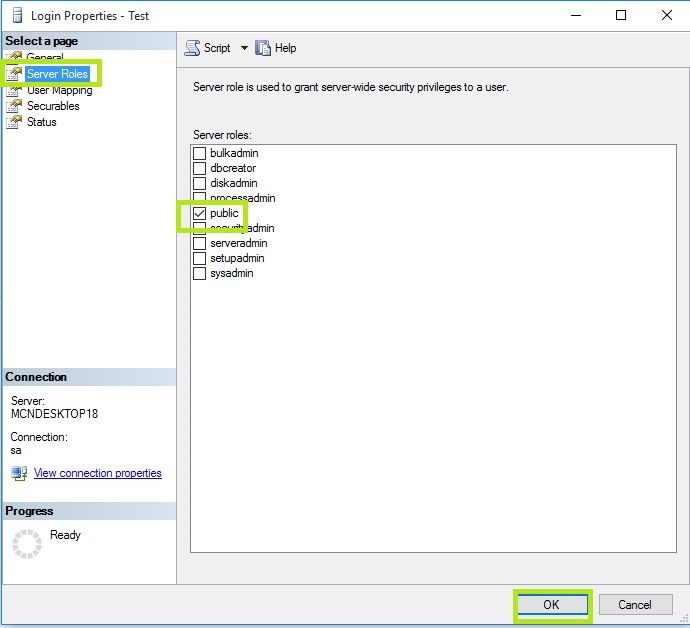
- In User Mapping Option: In this specify databases that the user account is allowed to access if the login needs for more access in one or other databases. In the Membership select the lists of all possible database membership roles that can be owned by the new database user.
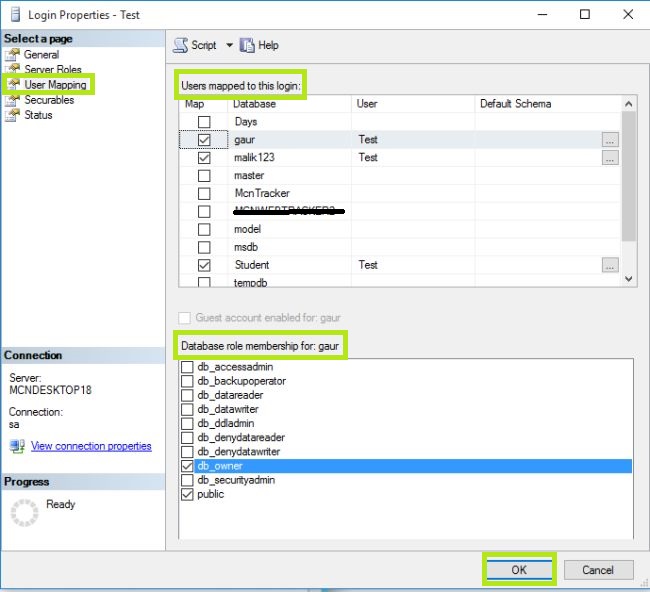
List of the roles that can be assigned to New/Existing User:
a. db_owner: Allowed to perform all configuration and maintenance activities on the database, and can also drop the database.
b. db_securityadmin: Allowed to modify role membership and manage permissions. Adding principles to this role could enable unintended privilege escalation.
c. db_accessadmin: Allowed to add or remove access to the database for Windows logins, Windows groups, and SQL Server logins.
d. db_backupoperator: Allowed to go for back up of the database.
e. db_ddladmin: Allowed to run any Data Definition Language (DDL) command in a database.
f. db_datawriter: Allowed to add, delete, or change data in all user tables.
g. db_datareader: Allowed to read complete data from all user tables.
h. db_denydatawriter: Cannot add, modify, or delete any data in the user tables within a database.
i. db_denydatareader: Cannot read any data in the user tables within a database.
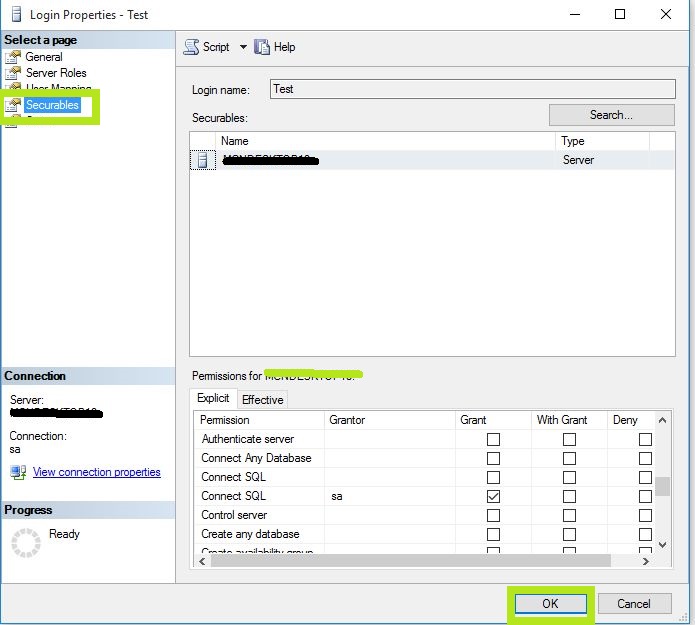
- In Securables Option: There are options of Permissions, Grant or deny in it.
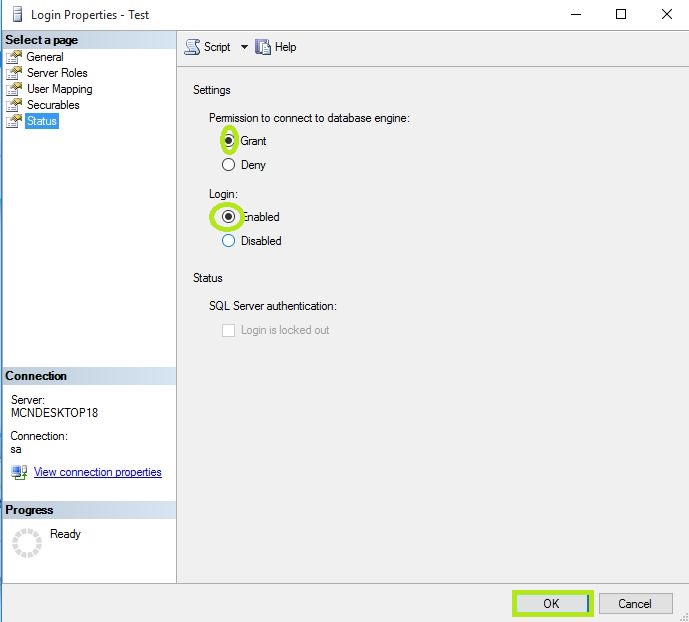
- In Status Option: Select the setting for Grant and Enabled for connection to database engine. Click OK.


Now open your SQL Server Management Studio and do Login in it with the New Login Account. When you enter the password it will ask you for new password creation, fill it and use SQL server database with your account.

Now refresh your server and see your login account, you can further change properties by selecting it.